

Why fit relays?
With age, the wiring in your car begins to lose conductivity and this results in less current flowing through you headlight bulbs. In addition to this the factory wiring is very thin and runs quite a distance (from the battery to the fuse panel to the headlight switch and then to the headlights via the scenic route) and this increases the total resistance in the wire.
Fitting a relay shortens the distance from the battery to the bulbs and using nice thick wire means less power is lost in the wire itself and more is delivered to the bulbs. This results in much brighter light output.
Can't I just use 100W/130W bulbs instead
Well you could but apart from the fact that I've heard rumours that this is illegal, you also run the risk of melting you headlight housings or the insulation on your headlight wiring. It may have worked without any problems for your friend, but do you really want to take the risk? 100W and 130W bulbs draw approximately twice the amount of current as 55W bulbs. Your factory wiring was chosen with this in mind. Also as the wiring gets older and becomes more resistive, more power is lost in the wiring. This power is converted to heat which can melt your insulation.
What do I need?
The following items are for doing one set of lights (i.e. left and right high beams or left and right brights). If you are doing both sets just double up (except the earth cables).
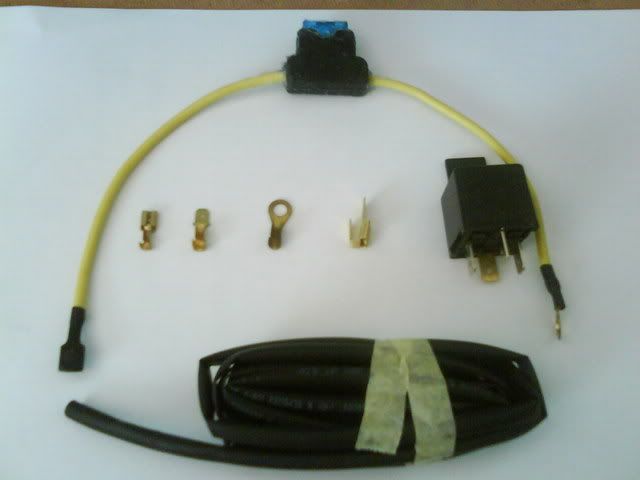
1x 4 pin relay (25A minimum). Avoid the cheap ones. I got a Hella for R25 after buying a cheap one for R15 which did not work.
8x female spade connectors (I dont remember the size but they need to fit onto the relay terminals)
4x male spade connectors (same size as females)
1x ring terminal (big enough to attach to positive terminal on battery terminal - see pictures)
1x inline fuse holder (look for one with a waterproof casing and thick cabling)
1x 20A fuse for fuse holder
2m 12 gauge wiring
0.5-2m 12gauge wiring in a different colour (used for earth so brown or black would be a good idea)
7mm diameter heatshrink (can be replaced with insulation tape if necessary)
Crimping tool
Building the wiring harness
1. Run the 12 gauge cable from the headlight furthest from the battery, along the wiring harness until the battery positive terminal to see how long it needs to be (mine was about 1.7 metres). The remaining piece of wire should reach to the nearby headlight connector.
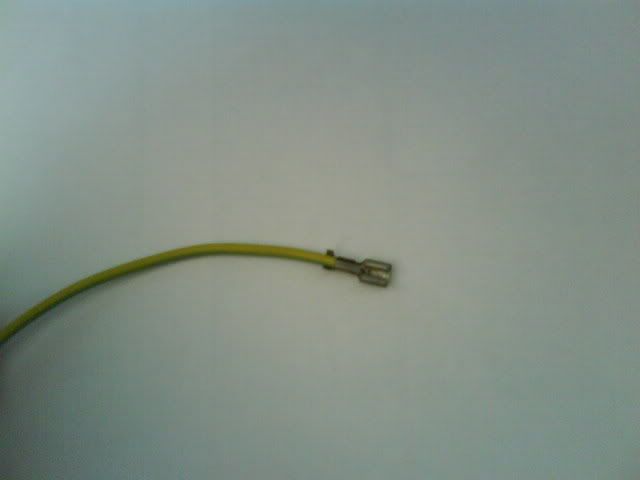
2. Cut the wire at the point where it reaches the positive battery terminal. Strip about 5mm of insulation off the ends of the wire and attach a female spade connector to one side of each of the two pieces of wire.
3. Take the two ends of the two pieces of wire which have not had terminals put on them and place them into one female connector and crimp as shown below. If you cannot get them into one connector you can give each one its own female connector and then connect them together using the piggyback connector shown in the very first image (the one on the left of the relay).
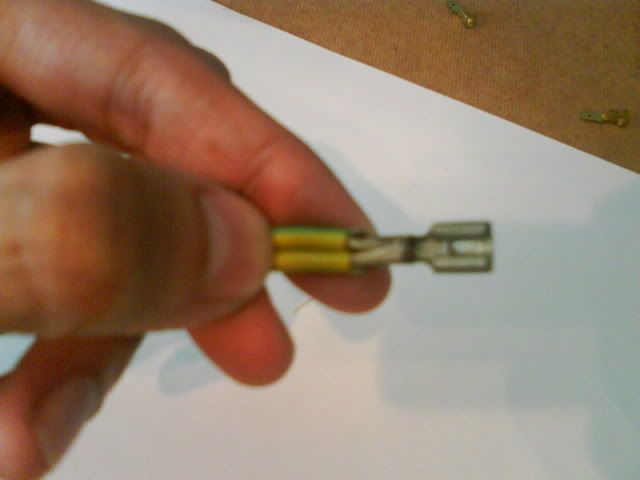
4. Slip some heatshrink over again and shrink it with a lighter. If the heatshrink wont go over the two wires you can stretch it using a long nose pliers or something similar.
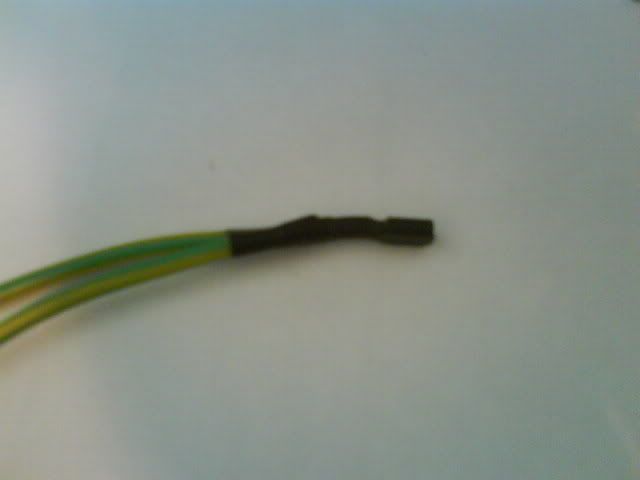
5. You should now have a single cable with 3 connectors on it.
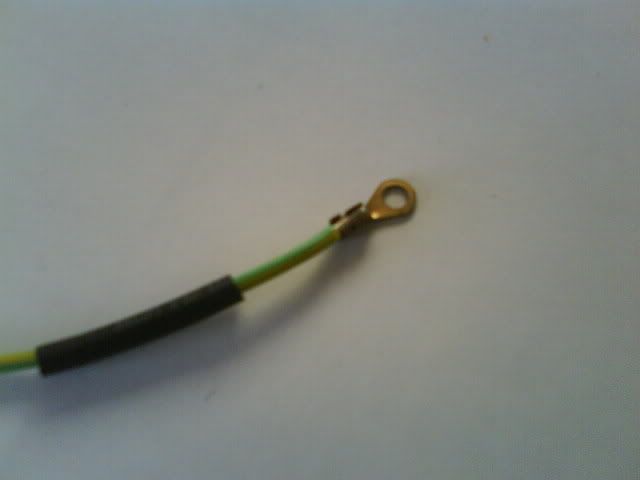
6. If you fuse holder came with one piece of cable connected to both ends, cut it about half way through the cable. Strip 5mm off both endsd and attach a female connector to one end and cover with heatshrink. On the other end, slide about 2cm of heatshrink over the wire all the way down to the fuse holder (do not shrink it yet), then crimp the ring terminal onto the end of the wire. Slide the heatshrink over the crimped section of the ring connector and shrink it.
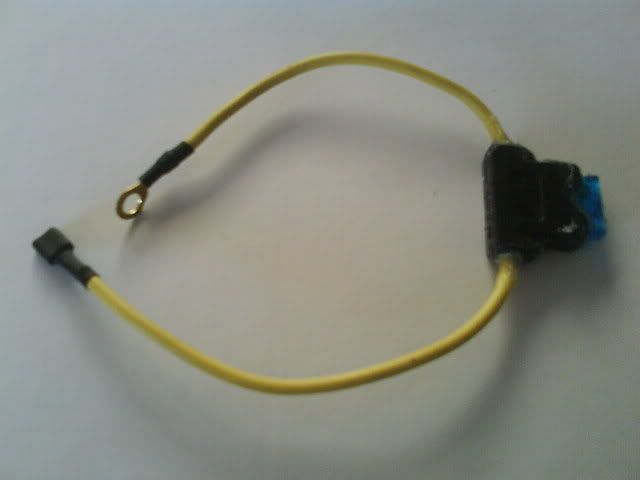
Fuse holder with terminals connected and heatshrink in place (note: this was not a waterproof fuse holders so I put the fuse in place and covered the entire holder in silicone to seal it).
7. Go to your car and check which wire is supplying power to the headlights. You may need a multimeter to check this, otherwise just check which wire runs to the bulb. You need to make sure you find the positive wire. The ground wire is usually brown so the wire you are looking for should not be brown (we will deal with that one later on). The wire should be the same colour for both the left and right head light. Once you are sure you have the correct wire, start at the headlight furthest from the battery and cut it off about 5-10cm from the headight connector. Place a male spade connector on the end which goes to the headlight. The other end of the cut off wire can be insulated (with heatshrink if desired) as you wont be using it (thats assuming you are working on light furthest from the battery). Slide about 4cm of heatshrink over the male terminal, then connect it to the female connector on the long end of the cable made in step 3. Slide the heatshrink over both the male and female terminals and shrink it (don't set your car on fire!)
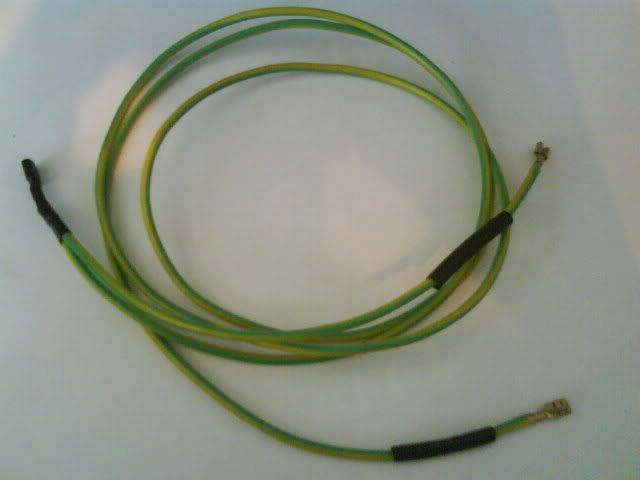
(note the harness shown below is not the same as the one shown above)
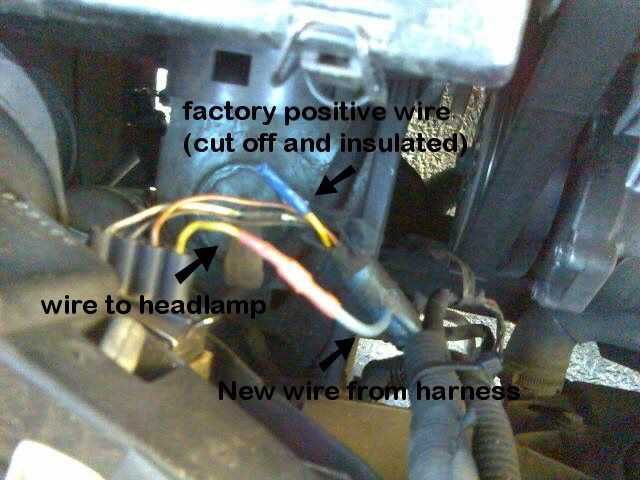
8. Run the cable along your factory wiring harness back towards the battery and nearby headlight.
9. At the headlight nearest the battery, cut off the 12 positive headlight wire again like in step 7. This time you need to connect a male terminal to the end going into the headlight connector and a female connector to the end coming from the factory harness. The female connector will be connected to the relay to switch it on and off (explained later).
10. Connect the short end of the cable made in step 3 to the wire running to the headlight and heatshrink as in step 7.
11. At both the left and right headlights, use the different coloured 12gauge wire to create new wires running to ground. You can cut off the existing ground cable (usually brown) at the headlight connector (leave 5-10cm again) connect a male spade connector to the piece going into the headlight connector. Use a female to connect it to the 12gauge ground wire and find a place to ground it at (either all the way back to the battery or just onto the body nearby). Remember to do this at both headlights.
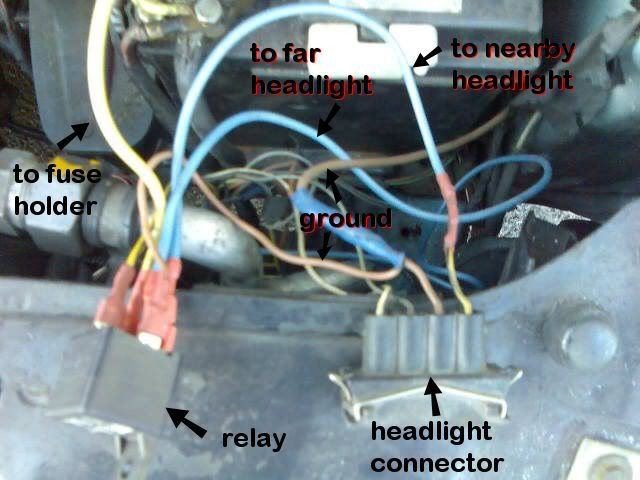
12. If you look underneath your relay, by the terminals, you will see each terminal has a number. Connect these terminals to the corresponding connections as follows:
30 -> female spade connector on fuse holder
87 -> remaining spade connector on harness made in step 3
85 -> female spade connector attached to positive wire from factory harness in step 9
86 -> connect this to ground
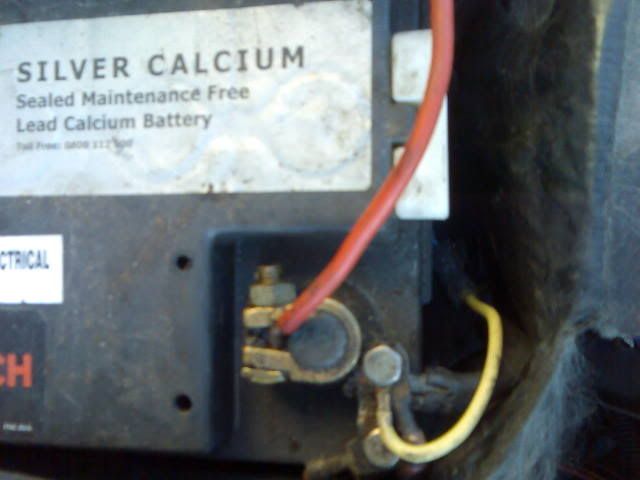
13. Connect the ring terminal from the fuse holder to the positive terminal of the battery.
(ignore the badly connected red amplifier power cable! You're looking at the yellow wire)
14. Put some insulation tape around the connectors of the relay so that it doesn't get wet and attach it to something so that it doesn't bounce all over your engine bay.
15. Put the fuse back into the fuse holder, and check that everything works fine.
16. Wait for it to get dark and go and have fun being able to see where you are driving again.